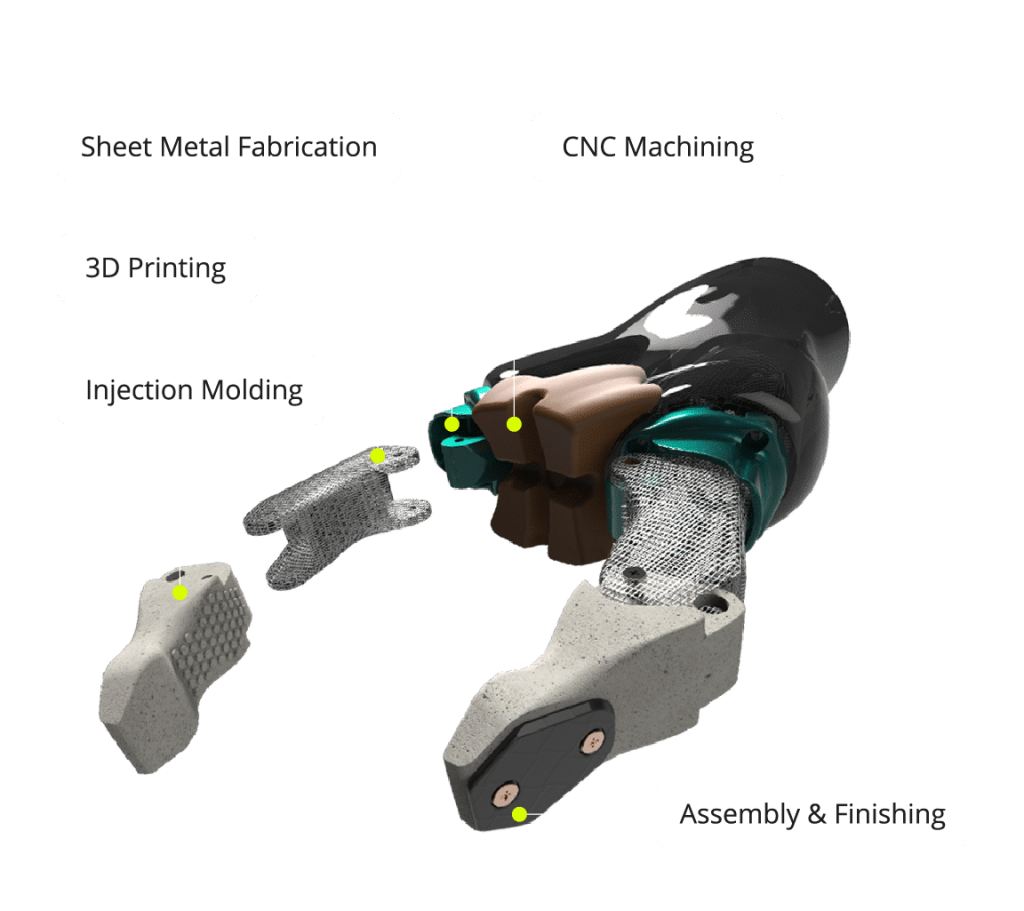
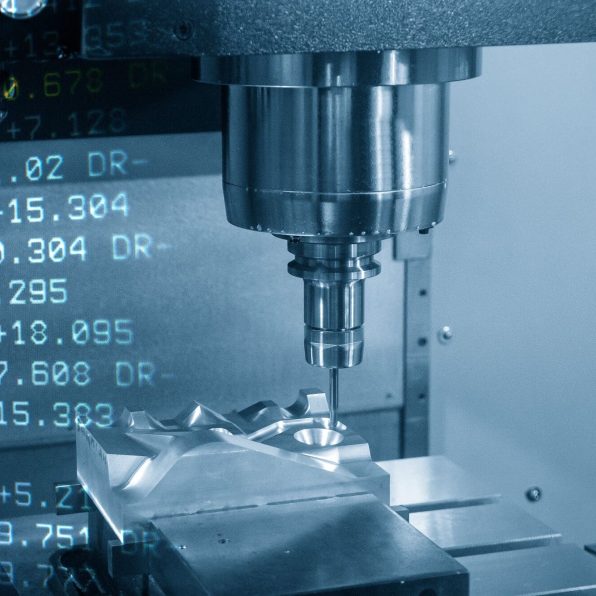
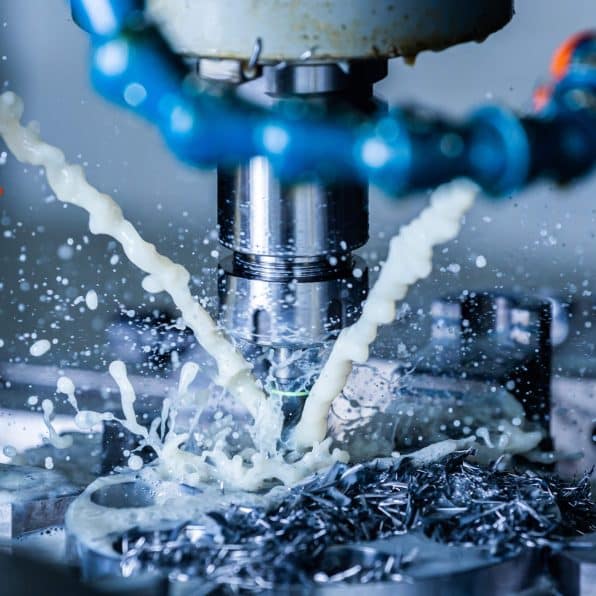
3-Axis Machining
-
Produce Complex Geometries With Exceptional Precision
-
Simple & Cost Effective
-
Ideal for Rapid Prototyping
Trusted by Industry Leaders


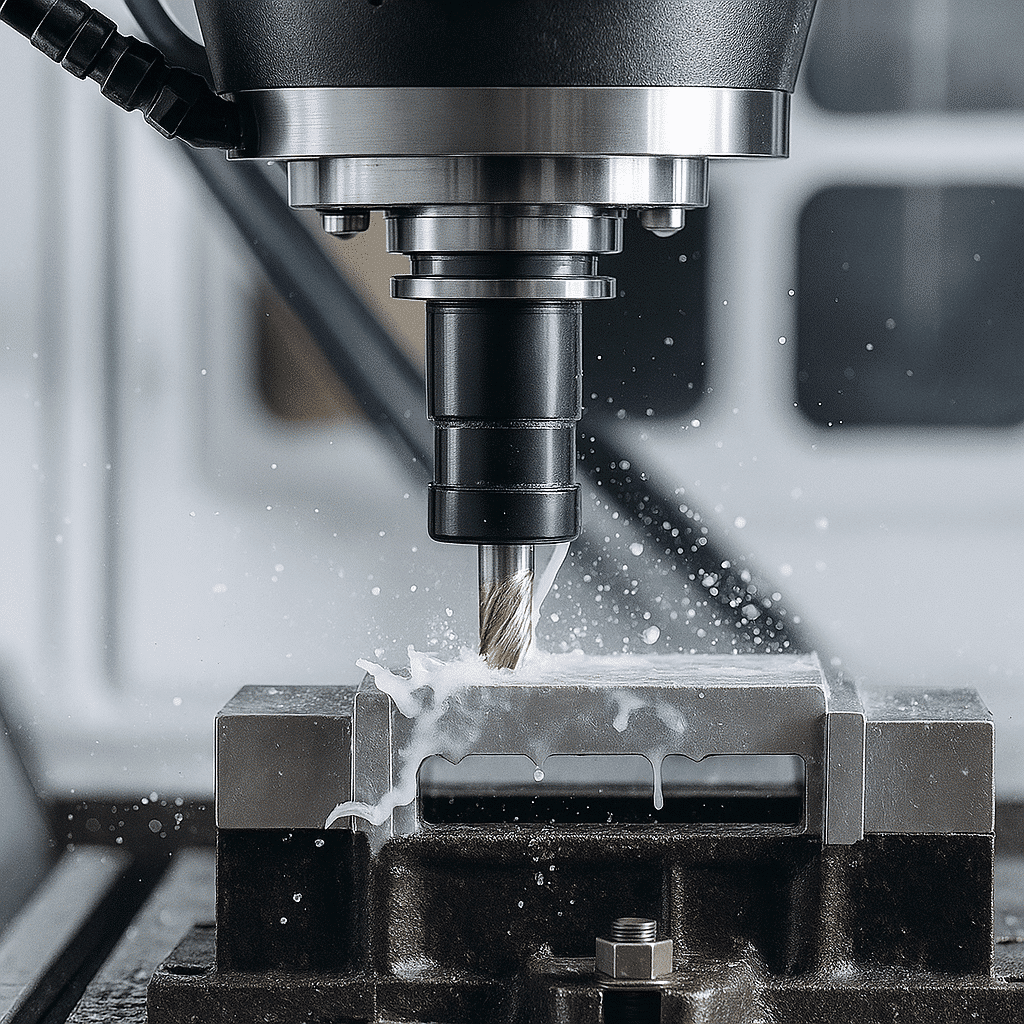
How 3-Axis CNC Machining Works
Is 3-Axis Machining Right For Your Project?
Advantages
-
Simple & Low Cost
Compared to CNC milling machines with more axes, 3-axis machines can produce simple parts at a reasonable cost. This makes them a good choice for budget-conscious projects.
-
Accuracy for Standard Geometries
3-axis machines can hold tight tolerances and produce excellent surface finishes on features like flat surfaces, perpendicular walls and vertical holes when working in a single setup (without repositioning the part).
-
Quick Set-Up Time
3-axis machines have fewer moving parts, resulting in a shorter learning curve for operators, simpler programming and easier maintenance and troubleshooting.
-
High Throughout
For parts that can be accessed from a single direction (e.g., flat plates, simple brackets, panels), 3-axis machining can produce simple parts quickly.
Disadvantages
-
Limited Geometries
3-axis CNC machines can only move along the X, Y, and Z axes, making it impossible to machine features with complex curves, undercuts or non-perpendicular angles without manually repositioning the workpiece.
-
Multiple Setups May Decrease Accuracy
Machining multiple sides of a part necessitates frequent manual repositioning, which increases labor costs, the risk of human error in alignment and often contributes to longer production times.
-
Tool Access Limitations
The fixed orientation of the spindle can make it difficult to reach deep cavities or narrow internal features, sometimes requiring longer tools that may reduce rigidity and cutting performance.
3-Axis Milling Offers Exceptional Versatility
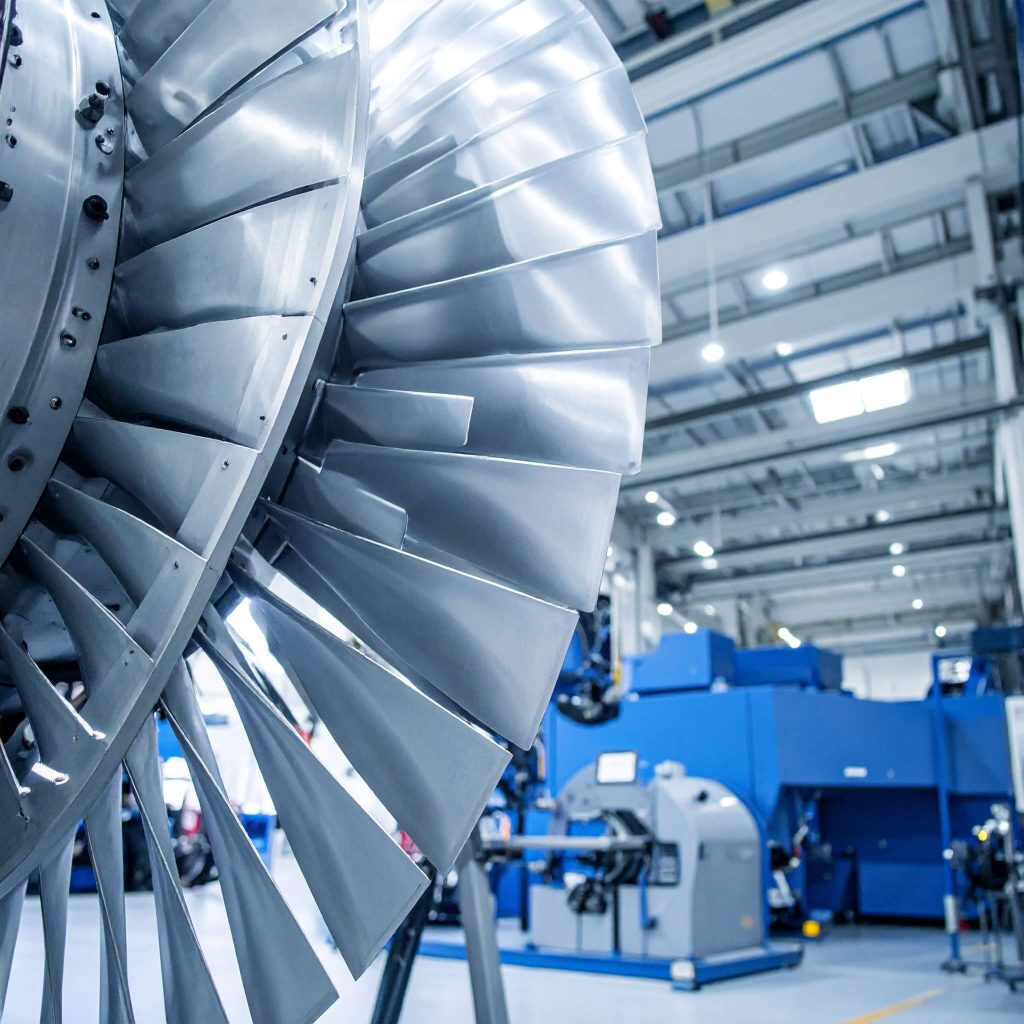
Aerospace Parts
The exceptional accuracy of 3-axis machines makes them a popular choice for tight-tolerance parts used in a variety of aerospace and defense applications, such as turbine parts and airfoils.
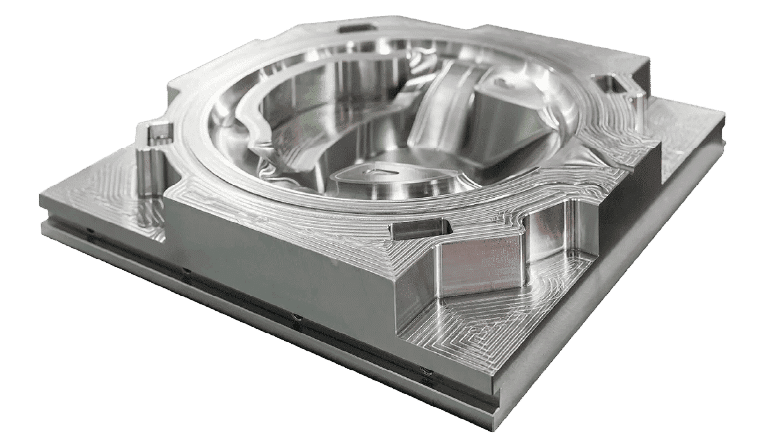
Mold & Die Making
3-axis machining is commonly used to cut mold tools used in injection molding because of its accuracy, speed and the complex shapes it can produce.
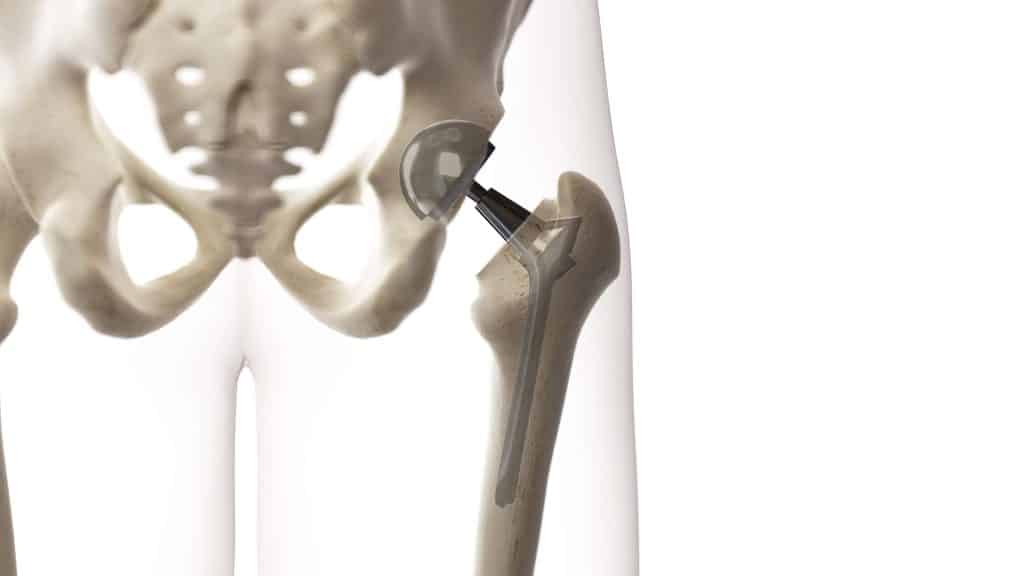
Medical Applications
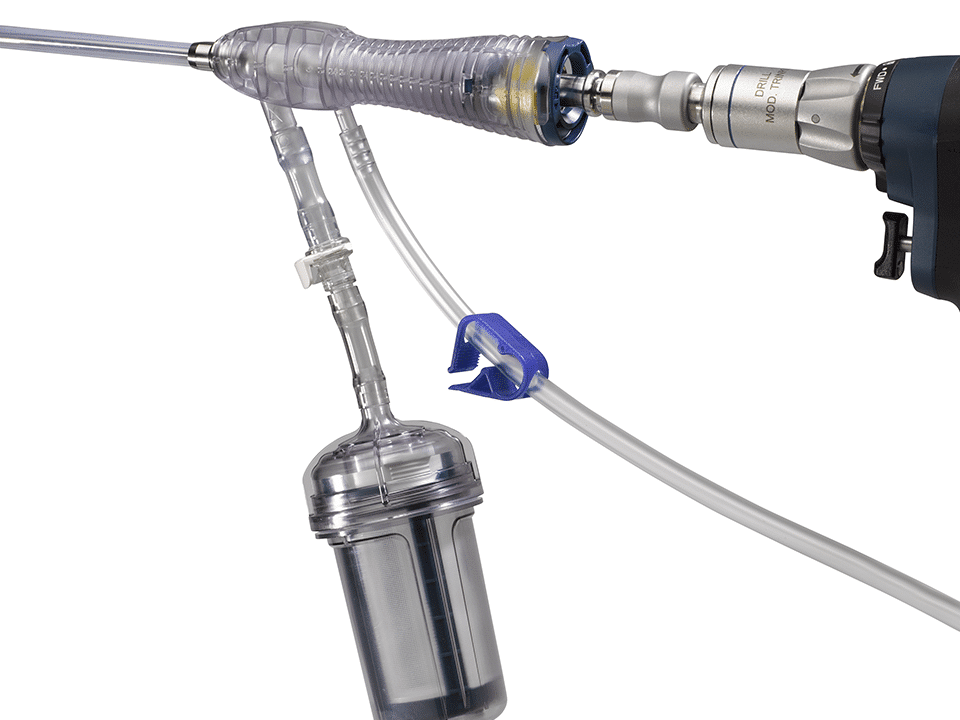
3-axis machines are frequently used to produce custom, precise components used in medical equipment and devices. Examples include orthopedic implants and surgical tools.
Find the Ideal Machinable Material for Your Part
Compare metals and plastics for CNC machining with full property details, tolerances, and suitability notes. Engineered to help you make informed decisions for precision, durability, and performance.
Case Studies
Why Choose Fathom for 3-Axis Machining?
-
Fathom has an unmatched depth of expertise in CNC machining and the capacity to take on your projects.
-
Our CNC facilities specialize in challenging applications. We work with extremely tight tolerances and exotic materials for use in medical or aerospace industries.
-
Fathom also has certifications at several of our locations to meet the highly specialized needs of your medical, aerospace or government industries, including ISO 13485, AS9100 and ITAR.
-
Our CNC machining expertise is backed by white-glove engineering – to ensure that your project is a success.
Start Your Project with a Trusted Manufacturing Partner
Let’s Get Started on Your Project
Every quote is reviewed by an experienced engineer to ensure optimal design, materials and manufacturability, so your part gets made right, the first time.